Smart lighting control should be planned from the electrical drawings and the way the family will use the home, not chosen as a collection of switches near the end of the project. In a Houston custom home, the plan needs to connect each lighting load with the right control method, wall location, scene, finish, and commissioning step.
For ETG projects in this scope, that usually means planning around Lutron RadioRA 3 controls and selecting WAC or DMF fixtures where they fit the room, trim detail, output, beam spread, and dimming requirement. Those product decisions belong in the planning documents before rough-in, not in scattered text messages during trim-out.
The first deadline comes before electrical rough-in. By then, the team should know which loads will be controlled by Lutron dimmers, which locations need Sunnata keypads, which fixture families are specified, and which driver or dimming details still need confirmation. Button engraving and final scene levels can come later, but they need a clear decision path.
Start With the Current Lighting and Electrical Plans
A lighting-control review needs more than a reflected ceiling plan. ETG starts by comparing the current architectural, lighting, electrical, and interior information so the control plan matches both the circuits and the finished rooms.
The review set should include:
- Floor plans and reflected ceiling plans
- Electrical lighting and switching plans
- WAC, DMF, or other fixture and driver schedules
- Interior elevations and millwork drawings
- Door swings, pocket doors, wall paneling, tile, mirrors, and trim details
- Furniture plans when they affect access to a wall control
- Motorized shade, ceiling fan, and exterior-lighting plans
- Any fixture alternates or owner selections that are still open
Plan revisions matter. If a WAC downlight changes aperture, a DMF fixture changes driver, a decorative fixture becomes an LED tape detail, or an exterior zone is split into several loads, the control schedule needs the same update. A keypad layout based on an old plan can look correct while operating the wrong circuits.
Build a Room-by-Room Load and Control Schedule
The load schedule is the working record behind the wall controls. Every switched or dimmed lighting load should have one name and one identifier that appear consistently on the electrical plan, control drawings, programming file, and field notes.
A useful schedule tracks:
- Room and load identifier
- Fixture brand, model, trim, lamp, driver, or transformer information
- Circuit or panel reference
- On-off, dimmed, relay, interface, or other required control type
- Dimming method required by the selected WAC, DMF, or other fixture and driver
- Wall locations that need direct or scene control
- Scenes or schedules that include the load
- Multi-location control requirements
- Current selection, submittal, testing, and programming status
This is where vague labels cause trouble. "Kitchen lights" may mean WAC recessed downlights, DMF accents, pendants, under-cabinet lighting, toe-kick lighting, display shelves, and an adjacent breakfast area. Those loads may need different levels in a cooking scene and an evening scene. Naming them separately gives the electrician, lighting designer, and programmer the same map.
Decide What Each Wall Control Should Do
Start with the action a person needs at each doorway, not with the maximum number of buttons a keypad can hold.
At the main entry, a homeowner may need Welcome, Evening, Entertain, and All Off. A hallway may need only a path scene and local control. A bedroom entrance, bedside location, kitchen work area, mudroom, garage entry, and patio door each have different priorities.
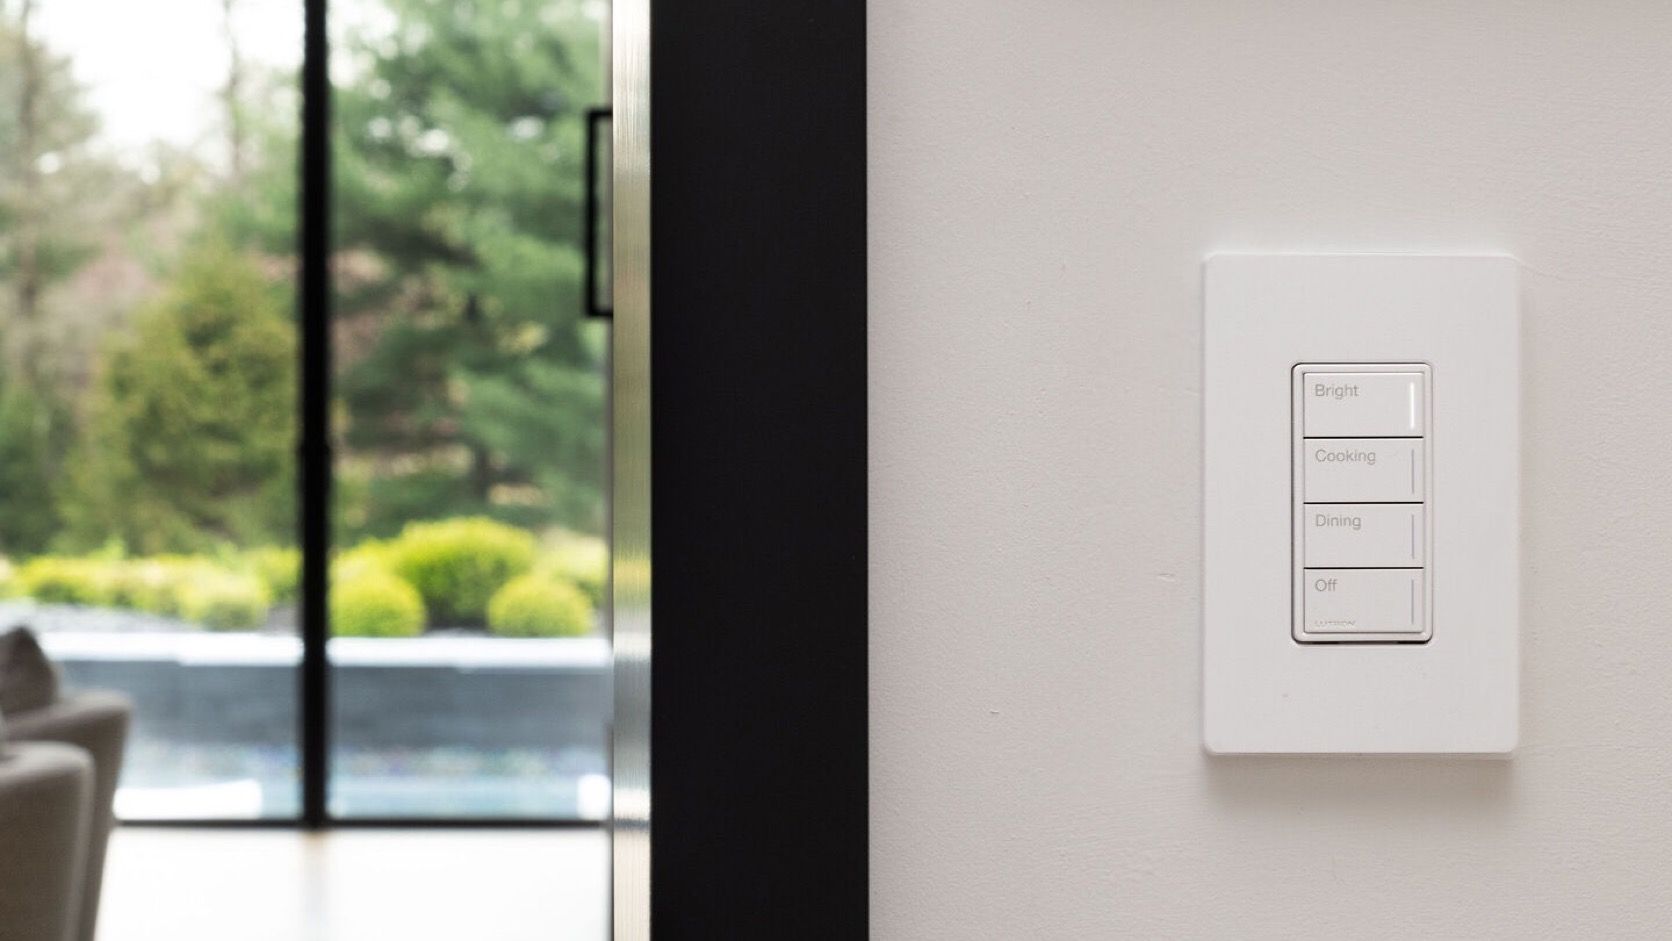
With RadioRA 3, ETG is usually deciding which locations should stay as familiar Sunnata dimmers and which locations should become engraved Sunnata keypads. A keypad can make the room cleaner, but only if the button names and scene behavior feel obvious when someone walks up to the wall.
For every proposed location, ETG reviews:
- Which loads must be available directly from that spot
- Whether the user needs individual load control or a scene
- Whether the location is used while entering, leaving, seated, or in bed
- Which actions a guest should understand without training
- Whether raise and lower control is useful
- Whether shades, fans, or another supported system belong on the same interface
- Whether an app or voice command is optional rather than the only practical control
The result should reduce wall clutter without hiding common actions. A clean Lutron keypad is only successful when the labels and behavior make sense to the people who live there.
Check Keypad and Switch Locations Against the Interior
The electrical symbol is not enough. Each location needs to be checked against the wall that will actually be built.
During the field and drawing review, look for:
- Door casing, door swings, and pocket-door frames
- Cabinetry, appliance panels, backsplashes, and tall built-ins
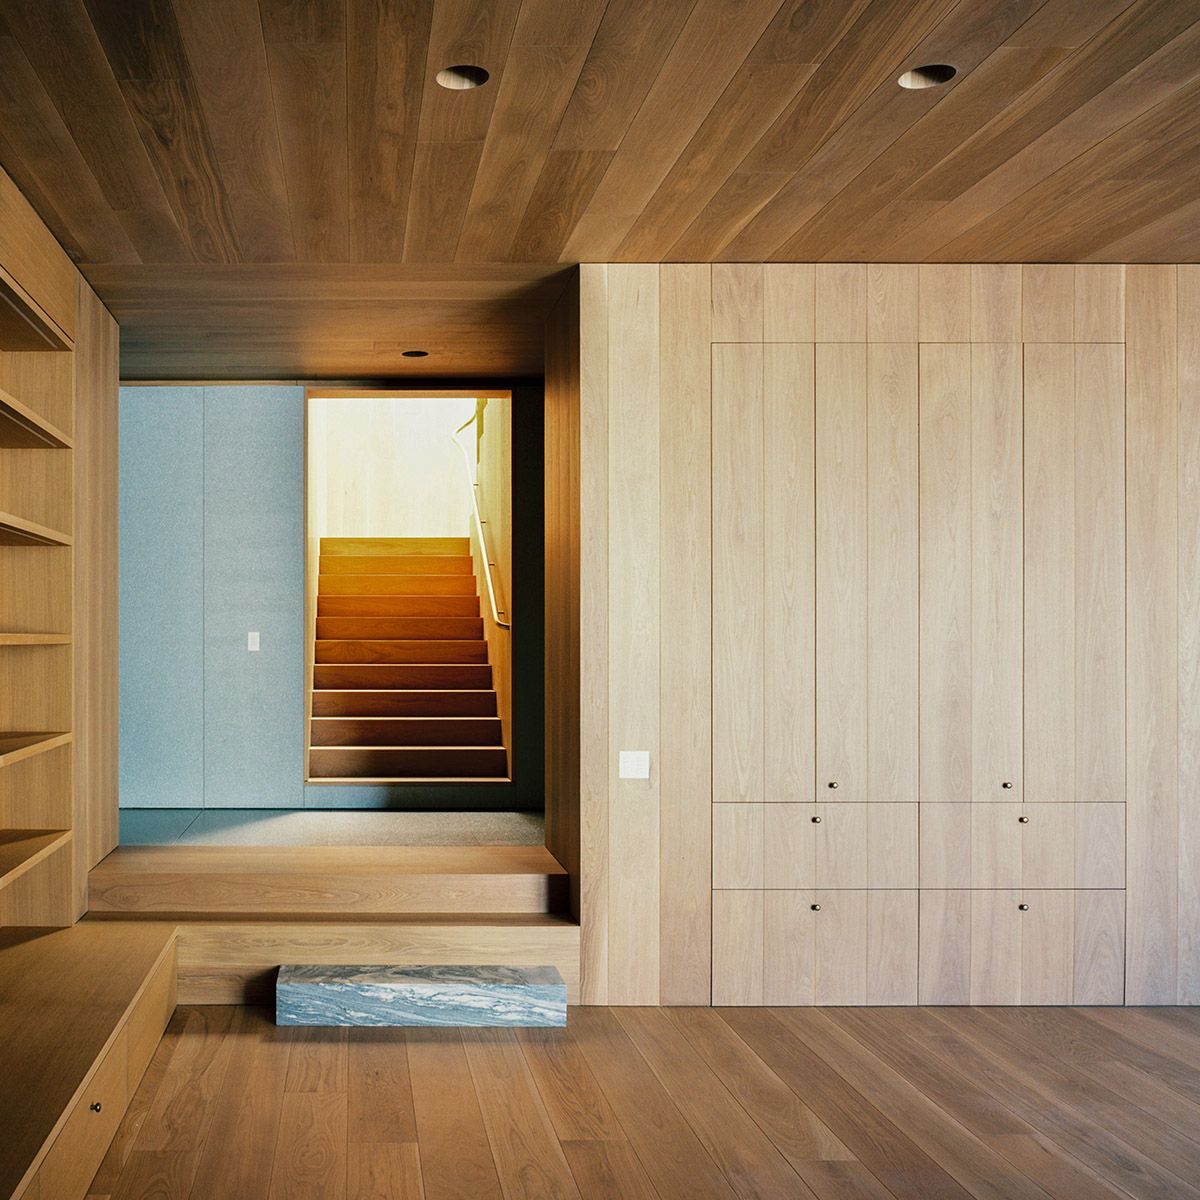
- Mirrors, tile layouts, stone slabs, and decorative wall paneling
- Artwork, drapery, and furniture near the control
- Thermostats, security keypads, touchscreens, and other wall devices
- Narrow wall returns and changes in wall thickness
- Bedside millwork, headboards, and reading-light controls
- Exterior doors where weather exposure or trim affects placement
The architect, designer, electrician, and technology integrator should agree on the box arrangement and finished appearance before rough-in. For design-sensitive walls, mock up the device grouping and faceplate size instead of assuming the plan symbol will translate cleanly.
Plan Scenes Around Real Routines
A scene is a preset group of actions. It can set several lighting loads to useful levels with one command and, when the system supports it, coordinate shades or other home functions.
Start with a short list of routines the household will actually use:
- Welcome or Arrival
- Cooking
- Dining
- Entertain
- Evening
- Movie
- Goodnight
- Path
- All Off
Then define what each name means by room. "Evening" should not be a loose programming idea. The scene schedule should identify which loads turn on, the intended level of each dimmed load, which spaces remain off, and which keypads can call the scene.
Keep the button language consistent. If one part of the home uses "All Off" and another uses "House Off" for the same action, the interface feels less predictable. Final names should be reviewed by the homeowner and designer before engraving is ordered.
ETG plans architectural lighting and scene control around daily use, then tunes the programmed levels in the finished space.
Coordinate Fixtures, Drivers, and Dimming
The control system cannot correct a poor match between a fixture, lamp, driver, transformer, and dimming method. For this kind of ETG project, the practical check is whether the selected WAC or DMF fixture, its driver or transformer, and the selected Lutron RadioRA 3 control path are compatible before rough-in and before the fixture order is locked.
The project team needs to confirm:
- Whether each selected WAC, DMF, or decorative fixture is meant to dim
- The dimming method required by the fixture or driver
- The Lutron control's supported load type and capacity
- Whether a neutral or another wiring condition is required at the planned location
- Whether a representative fixture and control should be tested together
- What acceptable low-end level, flicker, noise, and shutoff behavior look like
Do not treat "dimmable LED" as a complete compatibility answer. Manufacturer compatibility data, WAC or DMF submittals, driver information, and a physical mockup may all be needed. Testing one representative condition before the full order can expose a mismatch while there is still time to change the fixture, driver, or control approach.
The electrician owns line-voltage installation under applicable codes and manufacturer instructions. ETG reviews the control requirements with the electrical and design teams so the selected components are not left to resolve themselves during trim-out.
Decide What Stays Local and What Becomes Centralized
Not every custom home needs the same lighting architecture, and not every room needs individual dimmers on the wall. The right approach depends on the project, the desired wall appearance, the number and type of loads, the electrical design, the renovation limits, and the support plan.
RadioRA 3 is a strong fit for many custom-home lighting-control plans because it can combine local dimming with keypad-based scene control. Larger or more centralized designs may call for a different Lutron architecture. That choice should be made intentionally, not assumed after the electrician has already roughed in the boxes.
That choice affects circuit routing, wall boxes, wiring, finish coordination, and future service. It must be settled with the electrician before the electrical rough-in is too far along. If a project moves beyond a RadioRA 3 style plan, the alternate Lutron system, panel locations, access, working space, identification, and documentation should be coordinated with the building and electrical plans.
Coordinate Shades, Sensors, Exterior Lighting, and Automation
Lighting does not operate in isolation. A scene may include motorized shades, but the shade groups and lighting loads need separate schedules before they are combined in programming.
Sensors and time-based actions also need room-specific decisions:
- Which rooms benefit from occupancy or vacancy behavior
- Which lights should never turn off automatically while the room is in use
- Whether pathway lighting should respond differently at night
- Which exterior loads follow sunset, a fixed schedule, or manual control
- Which actions should occur at Goodnight or All Off
- Which automatic actions need a clear wall-control override
For broader smart-home automation, keep the lighting behavior understandable even when another system calls a scene. The homeowner should still know what a button will do without opening an app.
Mock Up the Controls Before Ordering
A control mockup resolves decisions that are difficult to judge on a plan. Use a representative wall location to review:
- Number and arrangement of devices
- Button count and button size
- Engraving language
- Faceplate and device finish
- Relationship to adjacent outlets, thermostats, and other controls
- Readability in daylight and low light
- Fit against paint, wallpaper, tile, wood, or stone
The mockup should be reviewed by the homeowner and designer before the final finish and engraving order. If button functions are still changing, use a temporary labeling plan and set a firm date for final approval. Ordering polished controls before the scene list is stable often creates avoidable replacement parts or confusing labels.
Program, Test, and Tune the Finished Home
Rough-in protects the infrastructure. Final commissioning makes the system useful.
Once the fixtures, controls, and keypads are installed, ETG walks the home after dark and under normal daytime conditions. We check that each button calls the right load or scene, dimmed loads reach useful levels without unwanted flicker or dropout, schedules match the owner's routine, and sensor behavior is not distracting.
The final pass should cover:
- Keypad button operation and status feedback
- Scene levels and transition timing
- Low-end and high-end trim where supported
- Sensor behavior and timeouts
- Sunrise, sunset, and clock schedules
- Exterior-lighting behavior
- Shade and automation coordination
- Owner training and requested adjustments
The handoff should include the final load schedule, keypad and engraving schedule, scene list, current control drawings, and a record of field changes. The goal is a system that another qualified technician can understand and the homeowner can use without a cheat sheet.
What to Send ETG
Send the current plan set even if every fixture and finish is not final:
- Floor plans and reflected ceiling plans
- Electrical lighting and switching plans
- WAC, DMF, decorative fixture, driver, and Lutron control schedules
- Interior elevations, millwork, and furniture plans
- Desired scenes and daily routines by room
- Keypad, switch, sensor, and shade-control preferences
- Current electrical rough-in and trim schedule
- Open fixture alternates or compatibility questions
Send ETG the lighting plans and project schedule before wall-control locations and circuit routing are finalized.
FAQs
When should smart lighting controls be planned?
Start during design and finalize the control strategy before electrical rough-in. Button names and scene levels can be refined later, but circuit routing, wall boxes, panel strategy, and fixture compatibility need earlier decisions.
Do all light fixtures need to be selected before the control plan starts?
No, but the team needs enough fixture and driver information to choose a safe control approach. If WAC or DMF fixtures are still changing, track the unresolved selections and retest compatibility when an alternate fixture or driver is introduced.
Does smart lighting require an app or voice control?
No. Common actions should remain easy from wall controls. Apps, voice, schedules, and automation can add convenience, but they should not replace a clear physical interface for everyday use.
Can one keypad replace several switches?
Sometimes, and that is often where a Lutron Sunnata keypad is useful. The control design, loads, wiring method, and expected use still matter. Fewer buttons are not automatically better; the right test is whether the wall control makes the room easy to operate.
Who should decide the keypad button names?
The homeowner, designer, and technology integrator should review the names together. The electrician and builder also need the final control schedule so the installed locations and programmed functions match the plan.
Can lighting scenes be adjusted after move-in?
Usually, yes. Scene levels and schedules are often refined after the homeowner uses the space. Wiring, wall locations, panel strategy, and fixture compatibility are harder to change, so those decisions belong earlier in the project.