Recessed lighting looks simple on a reflected ceiling plan. A row of circles goes on the drawing, an electrician wires them, and the ceiling gets patched and painted. In a custom home, the hard part is everything those circles do not show.
Each fixture has to light a specific surface or activity. It also has to fit around framing, air-conditioning equipment, sprinklers, speakers, access points, millwork, beams, and ceiling details. The trim needs to make sense in drywall, wood, stone, or plaster. The light source and driver have to dim properly with the controls. These choices are much easier to make before rough-in than after the finish team arrives.
For Houston custom homes, we treat recessed-lighting planning as part of the architecture and electrical coordination, not as a late fixture count. Here is the process we use to turn a ceiling plan into something the trades can actually build.
Start With What Each Room Needs Lit
The first question is not, "How many cans fit in this room?" It is, "What needs light?"
A kitchen may need working light at the countertop, softer ambient light for the room, and accent light at cabinetry or art. In a living room, the target may be a coffee table or seating area, with no glare directly over a person's head. Hallways call for a comfortable path of light, while closets need clear vertical light on clothing instead of just a bright floor.
Rather than starting with fixture count, sort the lighting into three practical layers:
- Ambient light sets the room's general brightness.
- Task light supports work at counters, desks, vanities, and reading areas.
- Accent light gives artwork, material, millwork, and architectural features some depth.
Every fixture needs a job. One may serve more than one layer, and that is fine. Giving each location a purpose makes missing work surfaces and pointless rows much easier to spot.
Build the Fixture Schedule Before Locking the Layout
A ceiling symbol is not a complete fixture selection. Before locations are finalized, the team needs a fixture schedule that identifies what sits behind each symbol.
At a minimum, record:
- Fixture family and aperture size
- Fixed, adjustable, or wall-wash distribution
- Beam spread or optic
- Delivered light output
- Color temperature and color-quality specification
- Trim shape, finish, and flange condition
- Housing or mounting detail
- Wet-location, insulation-contact, or other application rating when required
- Driver and dimming method
- Circuit or control-zone assignment
This schedule connects the design to procurement and installation. It also keeps a quiet fixture used for general light from being substituted where an adjustable accent light was supposed to aim at art.
Manufacturers such as DMF offer fixed downlight, adjustable, and wall-wash configurations within a fixture family. Those labels describe different jobs. The exact optic, output, trim, housing, and application rating still need to match the room and ceiling condition.
Lay Out Light From the Target, Not From an Empty Grid
Even spacing can look tidy on paper and still miss the architecture. Start from the surfaces that matter, then check whether the ceiling composition remains calm.
In a kitchen, locate the counter edge, upper cabinets, hood, island, sink, and likely working positions. A fixture centered in the open floor may put the person standing at the counter between the light and the work surface. In a bathroom, review the face at the mirror as well as the center of the room. In a gallery or living area, place adjustable light in relation to the art wall and the likely aiming angle.
Ceiling height, beam spread, fixture output, surface reflectance, and the distance to the target all affect spacing. A rule such as "one fixture every six feet" ignores too much. Use photometric information when the room or target warrants it, then confirm the result with a sample fixture or mockup.
Review the Whole Ceiling, Not One Trade at a Time
A reflected ceiling plan brings several systems into the same limited space. Recessed lights may compete with:
- Supply and return grilles
- Fire sprinklers and detectors
- Speakers and microphones
- Wi-Fi access points
- Security devices and cameras
- Shades and curtain pockets
- Structural beams and joists
- Plumbing and mechanical runs above the ceiling
- Attic access and service clearances
The goal is not to force every device into a perfect grid. It is to create a deliberate hierarchy while preserving each system's function and required clearances. A centered light is not useful if framing blocks the housing. A speaker should not be moved into a poor listening position just to match a row of trims.
We review the architectural plan, reflected ceiling plan, lighting plan, electrical plan, interior elevations, and relevant mechanical drawings together. Conflicts found on paper cost less to solve than conflicts found after drywall.
Coordinate the Trim With the Ceiling Finish
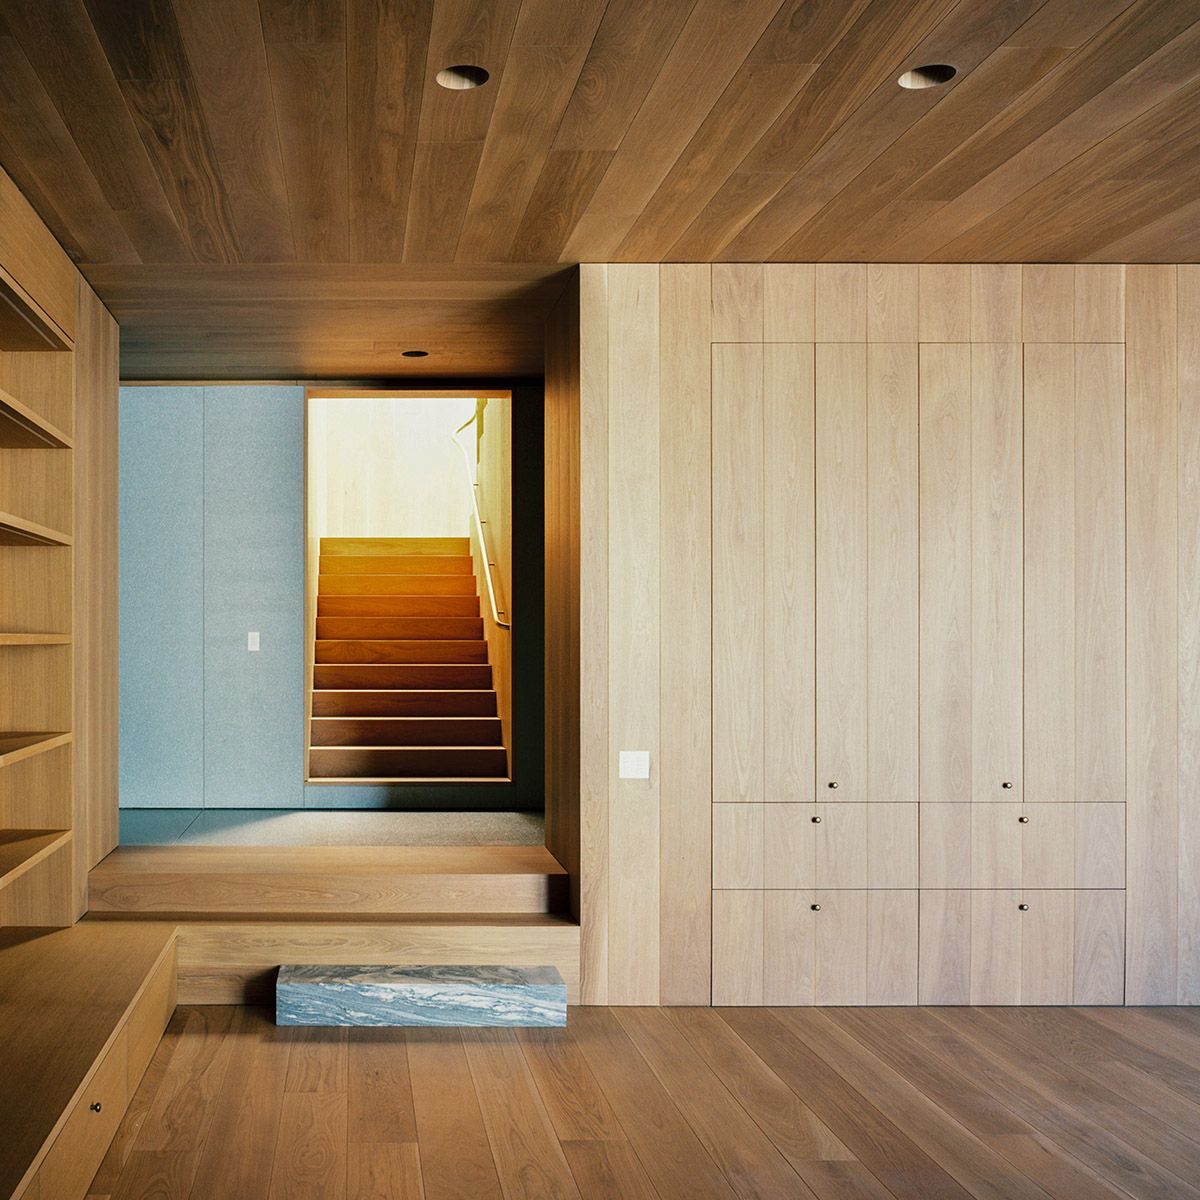
"Trimless" is not one universal detail. A flangeless fixture in drywall may need a mud-in plate installed before the final finish. A wood ceiling may require a different mounting kit, a precise cutout, and coordination with board widths or panel reveals. Plaster, stone, acoustic material, and specialty ceilings each change the conversation.
Before ordering, confirm:
- The actual ceiling material and thickness
- Whether the trim is flanged, flangeless, or made for wood
- The finish color and whether a custom finish is involved
- The cutout and mounting detail
- Who installs the rough-in component
- Who makes the finished opening
- When the trim or light engine can be installed without damage
- How the fixture will remain accessible for service
This is where lighting, electrical, drywall, millwork, and interior-design decisions meet. A beautiful wood ceiling is not the place to discover that the selected detail assumed gypsum board.
Choose Beam, Output, and Color From Real Materials
Two fixtures with the same nominal color temperature can render wood, stone, fabric, and paint differently. Color temperature describes how warm or cool the light appears. Color fidelity is a separate part of performance, so a specification needs more than one number.
When possible, put a working sample next to the home's actual finish materials. Then dim it to a level the owners will use at night. Warm-dim products do not all shift color in the same way, so judge the exact fixture and driver as a pair.
Beam choice deserves the same care. A narrow beam can emphasize art or a table, while a broader optic can provide more even ambient light. A wall wash is different: it is designed to spread light across a vertical surface. State the intended distribution in the fixture schedule, or the delivered product may miss the design even when it comes from the right family.
Confirm the Driver and Control Together
The recessed fixture, driver, dimmer, and control system form one electrical system. Specifying them separately without a compatibility check can lead to limited dimming range, flicker, pop-on, shimmer, or inconsistent behavior between zones.
Write down the exact fixture, driver, and control model numbers before anyone orders them. No shorthand. The review should cover control method, connected load, driver count, manufacturer data, and compatibility information as one set. A label such as "LED compatible" is not a substitute for testing the actual combination.
This article is about fixture planning, but the control boundary still matters. ETG's Lighting and Accessories work connects fixture selection, dimming, controls, and final programming so those decisions do not drift apart.
Mock Up the Rooms Where Small Differences Matter
Drawings help the team coordinate. A mockup shows what the room will feel like.
Mock up a critical condition when a ceiling is unusually high, the trim detail is new, the material is difficult to patch, the art is important, or the fixture is expected to produce both low-level ambient light and focused accent light. A useful mockup includes the proposed fixture, optic, driver, dimmer, ceiling material, and nearby finish sample.
Check the mockup from normal standing and seated positions. Look for glare, harsh scallops, shadows at work surfaces, trim visibility, light on adjacent walls, and behavior at the low end of dimming. Record what was approved. A photo and a short note are more useful than relying on everyone's memory several months later.
Mark and Verify Locations Before Rough-In
Approved drawings are the starting point for field layout. They are not a reason to skip field verification.
Once framing and major mechanical runs are visible, mark the critical fixture centers in the space. Check them against cabinet shop drawings, appliance locations, ceiling beams, curtain pockets, door swings, art elevations, and furniture plans. Confirm that the housing can be installed and serviced at each location.
If a fixture has to move, document the change and review what it does to the target, alignment, circuit, and neighboring devices. A casual field shift of a few inches can matter at a wall wash, island, vanity, or narrow ceiling bay.
For builders and designers, the most useful handoff is one coordinated plan, one current fixture schedule, and a clear record of approved field changes. That reduces conflicting instructions between the drawing set, purchase order, and installation crew.
Aim, Test, and Tune After Installation
Installation is not the end of the lighting design. Adjustable fixtures need to be aimed. Control zones and scenes need to be tested at night and during the day. Dimming should be checked throughout its range. Artwork, furniture, and rugs may need to be in place before the final adjustment makes sense.
During commissioning, verify:
- Every fixture and trim matches the schedule
- Adjustable fixtures point at the intended target
- Wall-wash fixtures are oriented correctly
- Fixtures on the same zone behave consistently
- Low-end and high-end dimming are usable
- Scenes support the way the room is actually used
- Any buzz, flicker, pop-on, or dropout is investigated
- Final settings and approved changes are documented
This last pass turns installed equipment into a finished lighting experience.
What to Send ETG Before the Lighting Review
The best time to start is while the electrical and reflected ceiling plans can still change. Send the latest architectural drawings, ceiling plans, interior elevations, cabinet drawings, finish direction, furniture plan, lighting specification, and control requirements. Include known art locations and any specialty ceiling details.
ETG can then review fixture roles, ceiling coordination, dimming, control integration, field conditions, and commissioning with the project team. If you are planning a Houston custom home, contact ETG before recessed-lighting locations are released for rough-in.
Frequently Asked Questions
Should recessed lights be arranged in a perfect grid?
Not automatically. A calm ceiling composition matters, but fixture locations should start with the surfaces, tasks, and architectural features that need light. The final layout should balance visual order with performance.
How early should recessed-lighting locations be planned?
Plan them before electrical rough-in and before specialty ceiling details are fabricated. Critical locations should be field-verified after framing and major mechanical routes are visible.
What is the difference between a downlight, an adjustable light, and a wall wash?
A downlight generally directs light below the fixture. An adjustable light can aim toward a target such as art or a table. A wall wash is designed to spread light more evenly across a vertical surface. The selected optic and spacing still matter in each case.
Does choosing a color temperature settle the color quality?
No. Color temperature describes whether the light appears warmer or cooler. Color fidelity is a separate characteristic. Review the proposed source with the home's actual finishes when the result is important.
Can any LED recessed fixture work with any dimmer?
No. Compatibility depends on the specific fixture, driver, control method, dimmer, and connected load. Confirm the exact combination using manufacturer information and a mockup or test when appropriate.
When should recessed fixtures be aimed and commissioned?
Do a preliminary check after installation, then perform the final aiming and scene adjustment when the key furniture, art, and finishes are in place. That gives the team real targets and normal viewing positions.